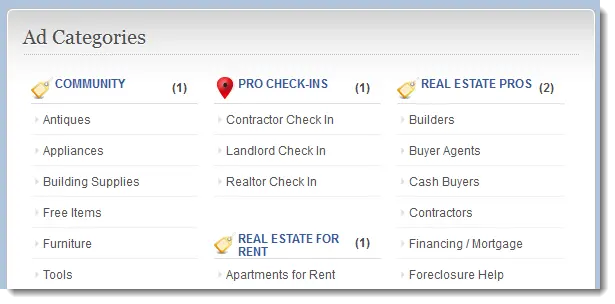
Did you ClassiPress category icons disappear after your recent upgrade? Not a problem. We will walk you though a new tutorial on how to add icons to you site without modifying any core code at all. Whats core code? Well, the code inside the /classipress/ directory you uploaded. You never want to modify that code because upgrading becomes rather difficult when you do that! Instead you should always create a child theme, which will lean on ClassiPress and extend its functionality allowing you to change styles, colors, and even how some pages function! If you don’t know how to make a child theme, you might start in the tutorial we wrote for AppThemes here: http://www.appthemes.com/blog/classipress-child-theme-tutorial-part-1/
Now that you have established a child theme, lets begin.
Step 1: Default all categories to use a generic icon
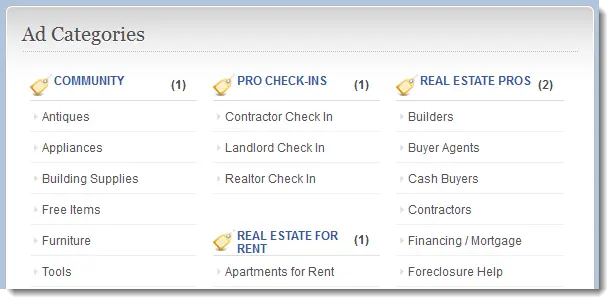
The first step we will take is to implement styles and load the same icon for every category. Start by opening up your child themes style sheet and then you will want to copy this code and place it inside.
#directory .catcol ul li.maincat .subcat-list a { background:none; }
#directory .catcol ul li.maincat a {
 background: url("images/cp_logo_icon.png") no-repeat scroll 0 0 transparent;
 display: table-cell;
 line-height: 13px;
 padding: 0 0 0px 24px;
 vertical-align: middle;
 float: left;
 height: 24px;
 width: 70%;
}
Step 2: Add icon image to your child theme
If you peek into the code above you will see its looking for “images/cp_logo_icon.png”. That means we need to add that file to the server. To make things easier for you, we are providing you with a zipped copy of the images folder.
Simply download this file: [download id=”10″ format=”2″]
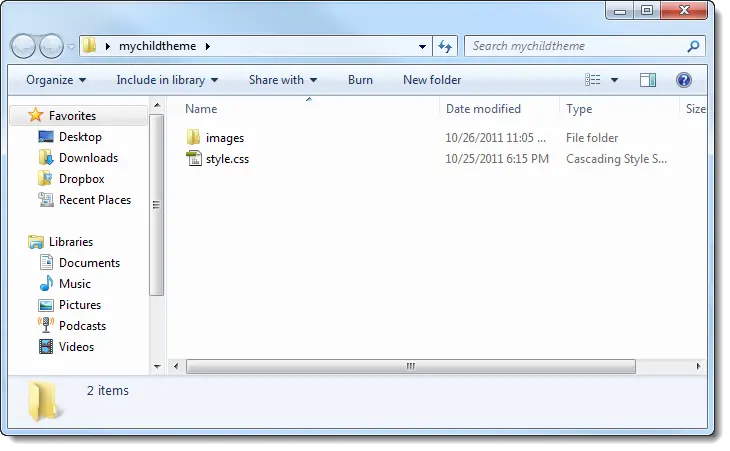
and extract the images folder into your child theme. To give you an example, your basic childtheme folder should look like this:
Step 2: Preview and Find Category ID
The site should now look something like this.
Now lets go find the ID of the “Pro Check-Ins” category so that we can use a custom icon just for that one category. To do this, you can of course use Firebug and inspect the HTML using developer tools, but I’m going to assume many of you don’t know how to do that, so lets get the category ID from the WordPress admin.
- Navigate to /wp-admin/ and login if you haven’t already.
- Click on the “Ads” section, then click on the “ad categories” subsection where you should see a list of your Classifieds categories you created.
- If you click to edit any of the categories you will be taken to a page where the URL will inidicate the category ID. In this example we clicked on the “pro check-ins” category. See image below where we indicate how to find your category ID from the URL:

Now we know the category ID is 42. Please keep that in mind as we enter the next step of the process.
Step 3: Customize the icon per category
Now that we know the category ID, we are able to add the next line of CSS code in our style.css document. Note that you should have the second icon already in your images folder that was included in the download above.
#directory .catcol ul li.maincat.cat-item-42 a { background: url("images/map-pin.png") no-repeat;}Take this above code and append your style.css file with it. Now your page should look something like this! Rinse and repeat for all other categories.